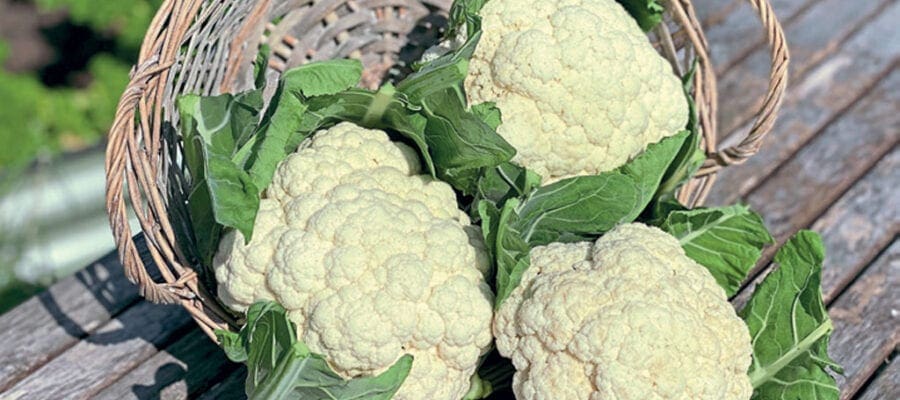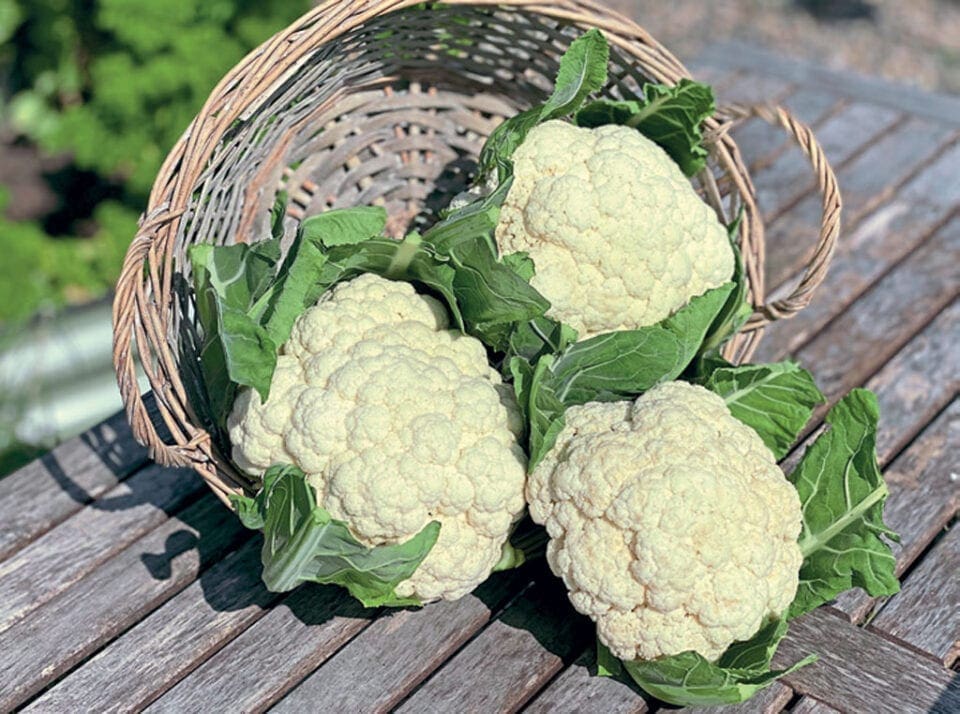
Cauliflower has a reputation for being a tricky plant to grow but with careful preparation and a little TLC, says Rob Smith, you can be assured of a good crop.
Cauliflower is one of those staple kitchen vegetables which makes us think of cauliflower cheese perhaps, but please don’t relegate it to that one dish as it can do so much more!
After all, homemade piccalilli wouldn’t be the same without small chunks of cauliflower sticking through the turmeric and mustard spiced sauce; neither would a deliciously spicy Aloo Gobi curry, with its soft potatoes and cauliflower pieces.
Traditionally a boiled vegetable, cauliflower is now finding new fans who love it raw with dips or made into ‘rice’.
Choose Right
Cauliflowers are part of the brassica family, so they’re related to cabbages and kales, yet it’s the immature flower – otherwise known as a curd – that is the main affair with this allotment favourite, not the leaf, as with others in the family. That said, I do like to steam the smaller, younger leaves which surround the curd – they’re delicious!
When it comes to growing cauliflowers there are a few things to remember which can help increase your success with them and stave off disaster.
You need to make sure you are growing the right cauliflower for the time of year; they can’t all be grown at the same time, and some perform better than others at certain times of year. Check the seed packet to see when you can sow and harvest the plants, and always try to stick within these limits.
Some are better spring sown, while others prefer to be sown in autumn, grown through winter and harvested in the following spring. Then there are a few such as ‘All The Year Round’, which will crop almost all year and can be sown successionally spring and autumn.
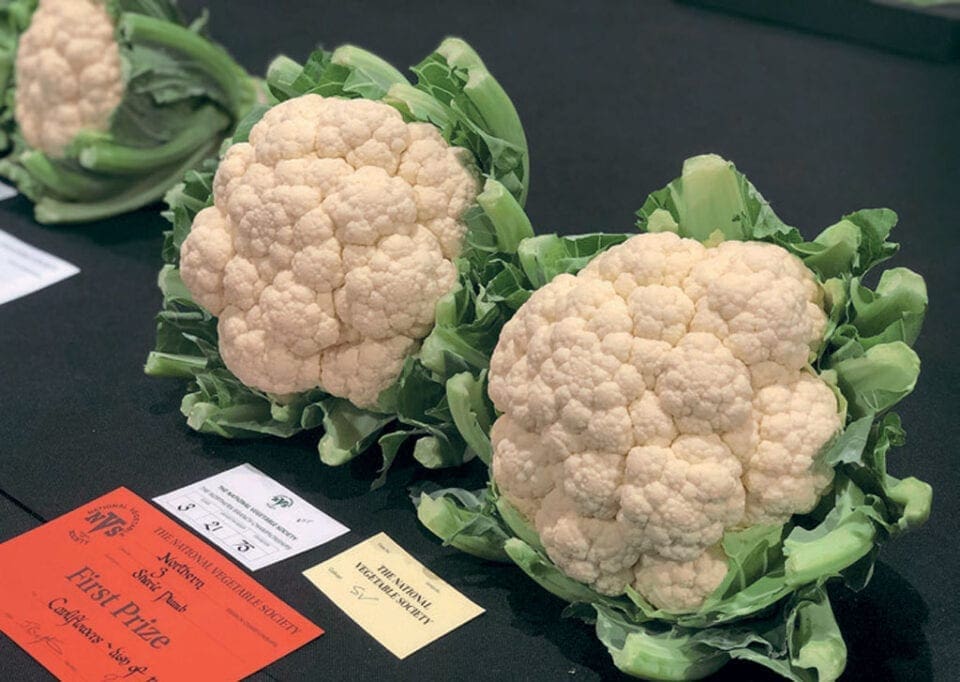
Sowing
You can start seed off in a seed bed if you like, but I prefer to start them in trays or modules (especially the more expensive F1 varieties) as I don’t want hungry slugs to eat the seedlings.
Cauliflowers are pretty hardy, so don’t need any additional heat to get them started. A cold greenhouse or cold-frame will suffice as long as its around 8-10C (46-50F); after all, you want stocky plants, not leggy ones which get battered by the weather.
You should sow seeds around 0.5cm (¼in) deep into good quality compost. They should germinate in about 14 days. Then, when large enough to handle, you can either pot them on before planting out, or transplant them from their seed bed to where they are to grow, around 50-75cm (20-30in) apart (depending on what type of cauliflower they are).
Planting
As a rule, you should plant summer/autumn cropping varieties around 60cm (24in) apart, while overwintering ones should be up to 75cm (30in) apart as this allows for more airflow during the wetter months. This can help prevent leaves rotting and problems spreading from plant to plant.
If you fancy growing single serving sized cauliflowers, you can plant summer varieties 30cm (12in) apart. This will force them to produce smaller, tennis-ball-sized curds.
Whichever distance you are planting at, you should make sure the soil is as fertile as you can get it, as this is one of the keys to success with cauliflowers.
I add a bucket of well rotted manure per metre square to my cauliflower beds, before forking it through well and treading the soil flat and compact. This may sound bizarre as most plants don’t like compacted soil, but these plants love to be firm in the ground; rocking in the wind can cause the curd to ‘blow’ and open up, rather than stay nice and tight.
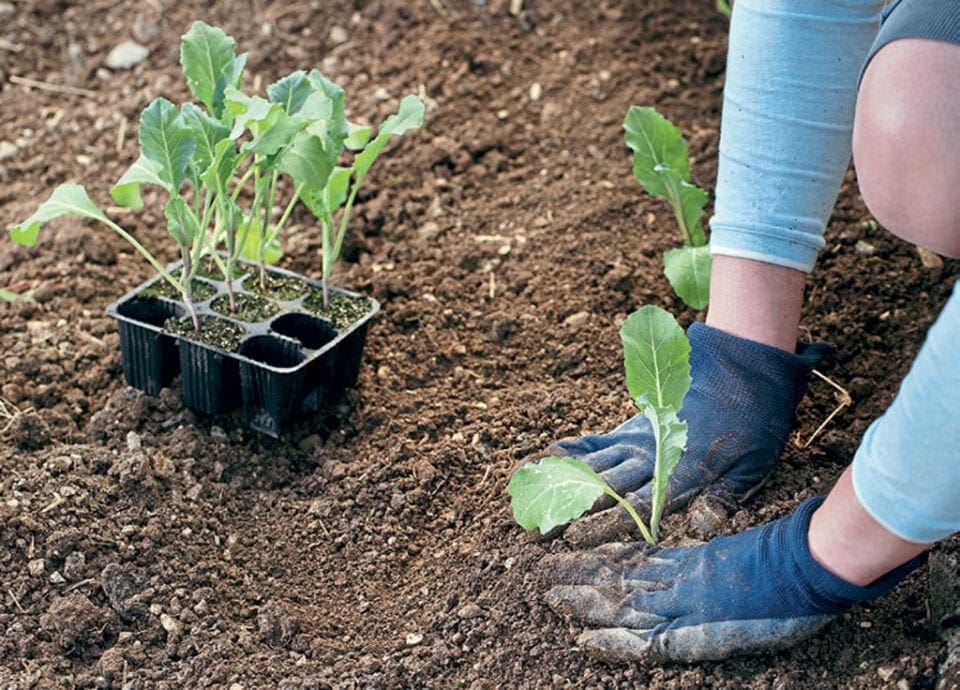
When planting, all brassicas can be planted deep, and cauliflowers are no exception. I plant them so their first leaves are literally just above the soil level, and if your plants are a little leggy and tall, you can even remove the first leaves and plant them a little deeper. By doing this you are also going to get a sturdier, more solid plant.
Firm the plants in and put a cabbage collar around the base of the plant to stop cabbage root fly, or use a thick layer of grit around the base of the plant as it does the same job (it stops the fly and larvae from getting to the base of the plant where it meets the soil).
Aftercare
Water the plants in well and keep them well watered throughout their lives, especially in dry weather. Any check in growth due to plants becoming dry will cause the curds to be small, so always make sure they are kept moist.
This can be one of the biggest problems when growing on an allotment you can’t get to very often, so make sure to add the organic matter to the soil before planting as this will help retain moisture in the soil around the plants.
If you want to grow a good cauliflower and not have caterpillar damage, you will have to net your plants; yet I would advise going one step further and using Enviromesh. This very fine netting will stop not only birds and butterflies, but also whitefly from getting to your plants. It really is the only way to grow a perfect cauliflower in my eyes.
When plants are established, and before the curd starts to form, I add a nitrogen-rich fertiliser (such as sulphate of ammonia) to help the formation of the curd; 20-30g per square metre is usually fine. Just rake it through the top soil around the plants.
Discoloured Curds
If you have ever grown cauliflowers that have gone a grey or yellow colour, this could be one of two things: slugs or sun.
Slugs will graze on the surface of the curd, causing it to scar and discolour. Control the pesky critters how you see fit, just keep them away from your caulis! Sunlight can also discolour older varieties of cauliflower, so be sure to cover the forming curd with its own leaves, either by using a clothes peg to hold them together over the curd, or by snapping the midrib of the leaves and bending them over on themselves to prevent light from getting through.
If this all sounds like a little too much messing about for you, opt for growing one of the coloured curd varieties, such as purple ‘Graffiti F1’ or orange ‘Cheddar F1’, as coloured curds actually get more vibrant when the sunlight gets to them!
Coloured varieties taste just the same as white ones, but add a bit more colour to your plate. Be warned though, if you boil the purple ones they go blue! So try steaming, stir-frying or roasting them to keep their colours.
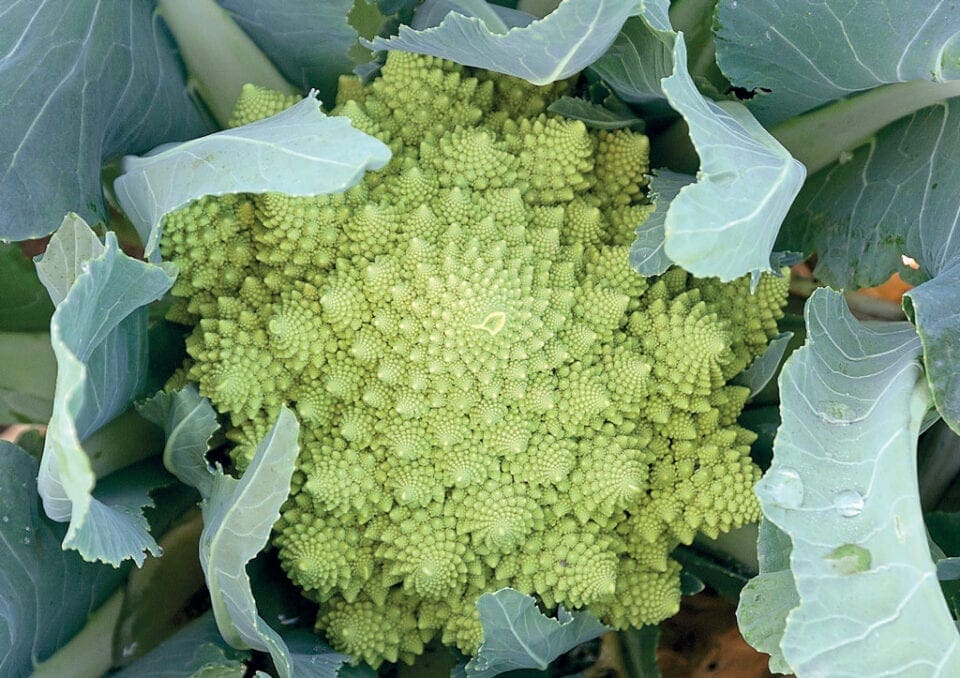
Along with coloured varieties there are Romanesco types, which have a more pointed, conical shape to the curd. They come in green and white, perfect to add to home-made piccalilli for a different shape. There are also multi-headed cauliflowers which produce a larger head in the centres, then smaller, single serving sized curds around the outside.
Lastly, there are now varieties which form the cauliflower equivalent of sprouting broccoli – long, tender spears of tasty cauliflower perfect for steaming or serving raw with dips and salads.

