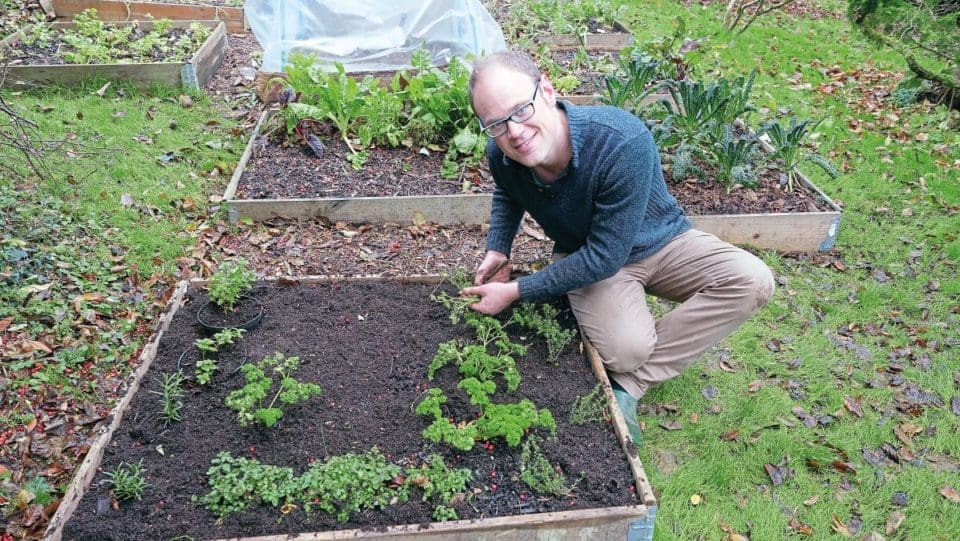
Ben Vanheems shares some essential tasks to carry out in your garden and allotment for March
SOW NOW
Aubergine, broad beans, broccoli, Brussels sprouts, summer cabbage, carrots, cauliflower, chillies, cucumber, kohl rabi, leeks, lettuce, onions, peas, peppers, radish, salad leaves, spinach, spring onion, tomato, turnips
PLANT NOW
Garlic, Jerusalem artichoke, rhubarb, shallots, soft and tree fruits
HARVEST
Brussels sprouts, winter cabbage, cauliflowers, celeriac, chicory, endive, Jerusalem artichokes, kale, leeks, parsnips, sprouting broccoli, swedes, winter radish, winter salad leaves
Top Jobs for March
Plant strawberries
The first strawberry plants of the season should be available from about now. Plant these cold-stored bare-root runners into prepared soil as soon as you get them.
Finish seedbed prep
If your soil isn’t too wet, break up any remaining clods and remove stones. Rake the soil to a fine, crumbly tilth (texture) ready for sowing.
Begin weeding
With soil warming up, weed growth resumes and the annual battle commences! Keep on top of weeds by regularly hoeing and hand weeding so they never gain the upper hand.
Prune soft fruit
Get on and finish winter pruning of soft fruits such as blackcurrants and gooseberries before they break bud later this month or next.
Tidy up herbs
Herbs are a must in the vegetable garden and if you already have a herb area, now’s the time to give it a bit of a spring clean. Cut back or pull away dead growth from last year so the new season’s growth can get on and push through as spring progresses. Snip back old stems as close to the ground as possible. Lavender simply needs any old, woody flowers trimming off, while the dead grassy growth of chives can safely be pulled away by hand to give young shoots more light.
Spring is a great time to plant more herbs such as sage, rosemary and thyme. Most of these prefer well-drained soil and thrive in a sun-baked position. If your soil isn’t ideal, try planting them into a raised bed for improved drainage. Digging in plenty of compost or leafmould should also help create a better soil structure. Once the weather improves leafy herbs like coriander, dill and parsley can follow, with frost-tender basil arriving later on.
Grow some asparagus
Asparagus is the king of the vegetable garden. It takes a few years to get into its stride, but the results – freshly griddled spears to dip into runny egg yolks – are so worth it! Asparagus needs a sunny spot in well-drained soil. If your soil is on the heavy side, consider planting into a raised bed to improve conditions at the roots. In late winter up until about March you can order asparagus crowns from seed or plant suppliers. The crowns are not usually dispatched from these companies until April or May when they can be planted immediately.
To plant, dig a trench about 30cm (12in) wide and 20cm (8in) deep. Add a nutritious layer of compost or well-rotted manure along the bottom of the trench then backfill with a little of the soil, mounding it up to create a ridge running the length of the trench. Splay out the roots of the crowns over the ridge, setting each crown 45cm (18in) apart. Finish by covering with the rest of the soil, so the crowns sit around 8cm (3in) deep.

Plant onions and shallots –
STEP 1: Both shallots and onions can be planted as small, immature bulbs called sets. Shallots are planted from late February and onions from March. Start by raking in a general-purpose organic fertiliser into soil previously enriched with compost or manure.
STEP 2: Use a string line to achieve neat, straight rows, or use canes to mark out the rows. Position them about 30cm (12in) apart then space sets around 15cm (6in) apart within the row. Push the sets into the soil so that only the very tip of the set is poking through.
STEP 3: Birds can sometimes pull out recently planted sets thinking they’re a tasty titbit. If this happens push them back into the ground or, if the problem persists, cover the area with netting or fleece to keep birds off until the sets have rooted and sent out new shoots.
Pests and problems!
■ APHIDS: Fresh growth brings the very first of the aphids. Check over crops, especially fruit bushes, regularly and squash any aphids you find before they explode in population. Predators such as ladybirds will soon be about to help with the invasion.
■ PEACH LEAF CURL: This fungal disease of peaches and related fruits causes leaves to distort and drop prematurely. Avoid problems on wall-trained fruits by covering the branchwork with a screen of clear plastic sheeting until later in spring. This keeps the buds dry while protecting blossom from frost too.
■ FUNGUS GNATS: Also known as sciarid flies, fungus gnats can be a nuisance in warm, very damp conditions where they can damage the roots of young seedlings. Avoid overwatering so compost isn’t constantly wet and set up yellow sticky traps near seedlings to reduce their numbers.
Under cover –
Time for tomatoes
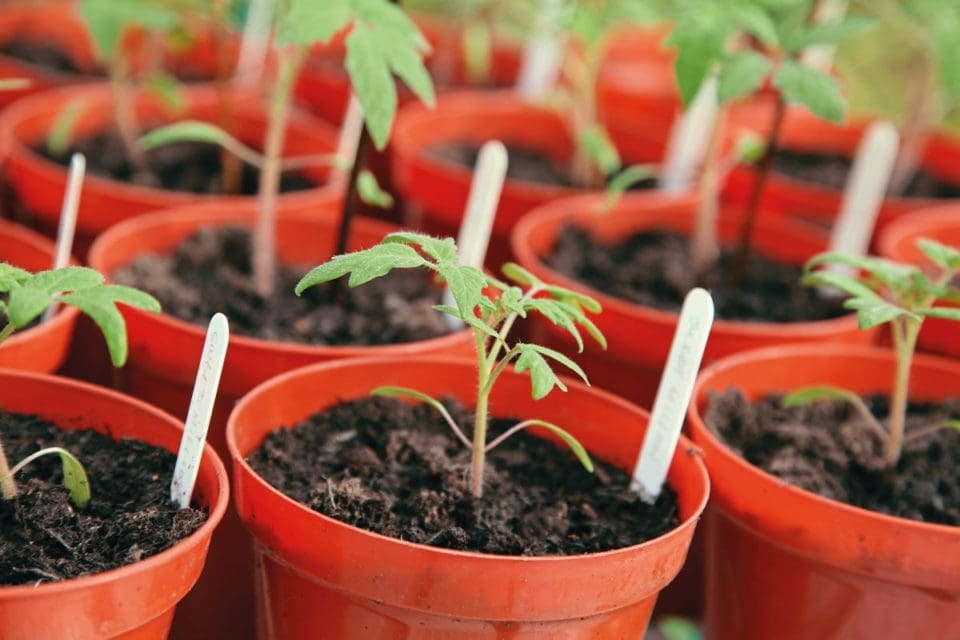
What’s the most keenly anticipated crop of the year? Tomatoes of course, so get on and sow them and start dreaming of the sweet and juicy pickings to come!
Greenhouse and polytunnel tomatoes are always the first to crop. The extra warmth makes all the difference, while also protecting plants from the dreaded tomato blight. Seed remains viable for up to six years if stored correctly, so it’s worth buying a few packets to enjoy a range of fruits. Include cherry tomatoes for pop-in-the-mouth treats, perhaps a variety for fist-sized beefsteak toms and, of course, a fleshy tomato like ‘San Marzano’ for rich, savoury sauces.
Lack of space or time makes ready-to-plant tomatoes an attractive option, particularly if you only want to grow a few plants. If you are considering grafted tomatoes but hesitating over the expense, rest assured you’re investing in more resilient and prolific plants that will easily pay back the initial cost.

Grow an early salad
Start salads like lettuce, baby leaf spinach, radish and spring onion for the first new-season pickings. Sow seeds of leafy salads into module trays – two per cell – then thin to leave the strongest in each. Radish and spring onion can be sown in scant pinches of four to six seeds per cell and left unthinned. Grow them on then plant into beds, pots or larger trays once they have filled their cells. Alternatively, sow direct into greenhouse borders. Thin out rows in stages to avoid overcrowding and improve airflow and light around the seedlings.
Prick out seedlings
STEP 1: Seedlings started off in pots or seed trays will need moving on as soon as they are big enough to handle if they are to thrive. Very carefully jiggle the seedlings out of their nursery container, or use a dibber, pencil or teaspoon to get in under the roots and lift them free.
STEP 2: Now to carefully separate the seedlings, which requires great care to avoid damaging the delicate stems. Use a stick or pencil to work with the seedlings, gently teasing the roots apart. Only ever handle the seedlings by their leaves and do so delicately.
STEP 3: Transfer the seedlings to pre-filled pots or module trays. Make a hole into the compost using your stick then carefully lower the seedling into the hole before feeding the compost back in around the roots and gently firming. Water them using a watering can fitted with a rose.
Deploy heat
Ensuring a toasty environment is the best way to speed up germination and achieve a better success rate. Heated propagators often include a thermostat to accurately set the temperature, so you can provide exactly the right conditions for what you’ve sown. Don’t forget to open vents to ensure good ventilation.
Heat mats or warming pads are another option and can be rolled out on top of staging to give an instant propagation area. The gentle heat will permeate up into the compost, boosting germination rates, while a layer of capillary matting between the mat and pots can improve humidity and encourage steadier moisture levels.
Key Jobs for March
■ WATCH FOR HARD FROSTS
Remember that bitterly cold March a few years back? If harsh frosts threaten you may need to protect greenhouse propagation areas with a little extra insulation. Throw horticultural fleece over vulnerable seedlings to keep the chill off. Use a heavy-duty fleece of at least 30gsm.
■ SET UP SUPPORTS
Why not get ahead and set up supports for climbing and vining plants now, before things get hectic? Run thick-gauge wire at roof level then tie on lengths of string to dangle down for your vertical supports. Use thick string for this, as plants will get very heavy.
■ HAND POLLINATE
Under cover peaches and nectarines may need hand pollinating to guarantee fruit set. Use a soft artist’s brush and simply tickle it into each bloom to transfer the pollen on to the stigma at the centre of each flower. Repeat a few times over several days for best results.
■ CLEAR WINTER CROPS
Ragged and tired winter crops should be removed from greenhouse beds by the end of the month. Clear away all crop debris and weeds then top up beds with a layer of fresh, well-rotted garden compost to recharge lost nutrients ready for your summer staples.


